
What is a case?
There are two types of cases in the CRM:
- Academic Case: every student is assigned an academic case and every student always has an academic case open. This is similar to an academic profile and should never be closed. An advisor would typically only need to enter a student’s academic case to view reports that have been created. Applicable academic records can be viewed in the students profile.
- Support Case: these are cases that are either initiated by the student in one of various ways that require actionable steps by the advisor or initiated by the advisor after an interaction with the student.
Who can create cases?
Cases can be created by a student, an advisor, or support staff. Support staff can create cases but they cannot assign cases to themselves.
Should advisors create appointments, cases, or interactions?
|
Type |
When should an advisor create? |
Visible to student? |
|
Appointment |
Any previous (in the past, already occurred) contact with a student that does not require follow-up either by the student, advisor, or another team, is an appointment. Except in the instance where the meeting was so brief that it would not warrant the investment of time into creating an appointment in which case an interaction summary would be used. |
Yes |
|
Interaction Summary |
Unscheduled contact with the student that was brief and in the past, and does not warrant the investment of creating an appointment. |
No |
|
Case |
Contact with a student that requires follow-up either by student, advisor, or another team. |
Yes |
How will an advisor know if a case has been assigned to them?
If the case owner is changed to a specific person (a specific advisor and not assigned to a departmental queue) the person changing the case owner has a checkbox that says Send notification email, when that box is checked the assigned owner will get an email notification. The advisor would also be able to see any assigned cases in their reports and dashboards. If a case is assigned to a queue as opposed to an individual, anyone in the queue would have the ability to assign the case to themselves.
What are the case priority levels?
All student-initiated cases default as medium priority. When an advisor creates a case, they choose a priority level. Priority levels are viewable by students.
- Low Priority: can be handled by one person, take one business day or less to resolve.
- Medium priority: more than one person needs to be involved and takes approx. 2-3 days to resolve.
- High priority: complex, multiple depts involved, may include departmental leadership, week or more to resolve.
Students creating support cases
Students can open a case when emailing certain departmental email accounts with their dukes account or by submitting a Contact Us form online. Support cases can be as simple as an emailed question or as complicated as a problem that requires multiple teams or individuals across multiple teams to address.
Cases can be submitted through a variety of channels, including:
|
Email-to-Case |
Emails sent to certain departmental inboxes will automatically create cases in the CRM if they are sent with a @dukes.jmu.edu email address. |
|
Contact Us Form |
Students can submit a case from MyMadison Connect using the Contact Us tab which will create a case in the CRM. |
|
Web to case |
A webform will only be utilized for the Madison Cares process and the Rebound program. When the webform is submitted, a case will be created in the CRM and will be worked by the Dean of Students office. |
When a case comes in from a student via the contact us form on MyMadison Connect it will be routed to the SSEA team who will then either respond to the case or assign the case to the appropriate team or individual.
Advisors creating support cases
An advisor can create a case for a student if follow-up is needed either from the student, the advisor, or another team. This can result from an appointment, an interaction, an email, phone call, or any other form of communication.
- To create a case for a student, navigate to the student’s profile and scroll down to the Cases field and select New.

- Select the Case Origin and Priority Level (Priority level is viewable to a student), please note that all cases default to Medium priority.

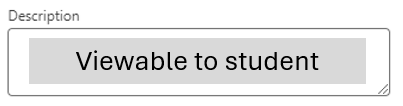
- Enter a Subject and a description.

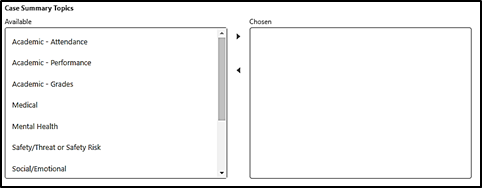
- Select any applicable Case Summary Topics.
Note: The case Description is viewable to the student.
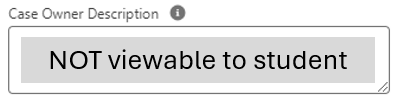
Note: Case Owner Descriptions are internal notes for advisors that are not viewable to the student.
- If you want to alert the student that a case has been created for them, click the Send notification email to contact

- Click Save.
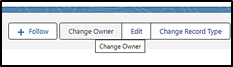
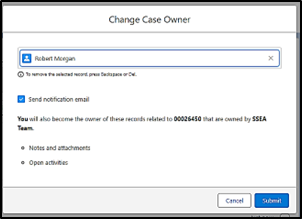
Changing the owner of a case
To change the owner of a case to yourself or someone else select Change Owner and select yourself as the owner, or assign it to another owner. If you select Send Notification Email the owner will be alerted that you have assigned them as the owner.
Accessing a Support Case
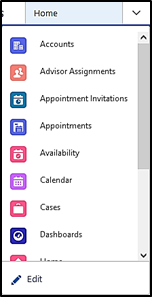
- From the Navigation dropdown, select Cases.
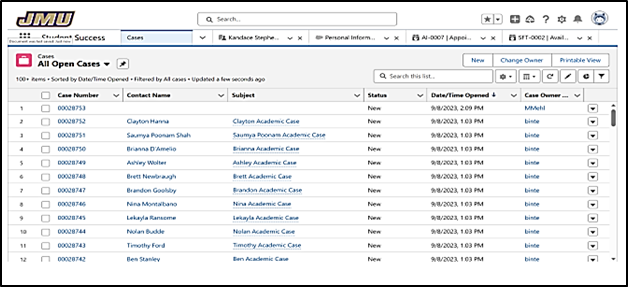
- This will bring you to the Cases List View, where you will see all “Open Cases” and My Cases, which is the Cases that have been assigned to you called.
- Select a case that pertains to you to see the details of that case.
Case Notes and Attachments
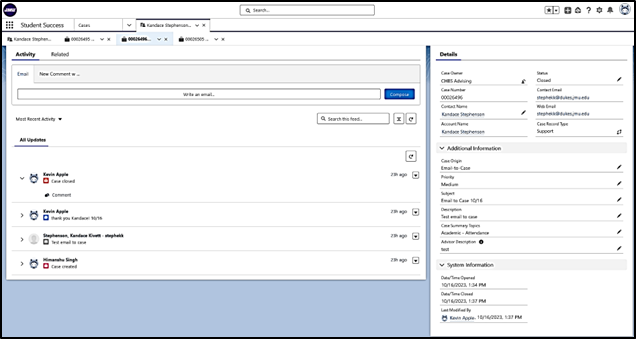
Once you have selected a Support Case, you will be able to see details that pertain to that case on the right-hand side, as well as any previous comments and related lists of the case record.
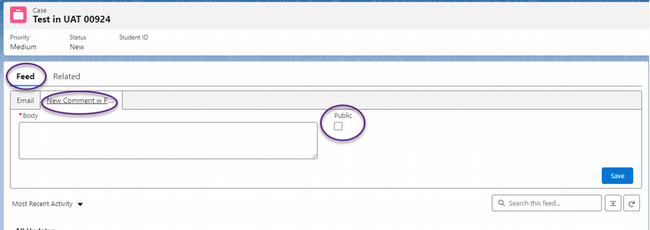
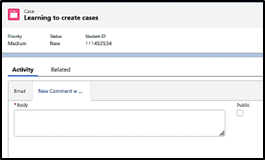
- To leave a new comment, click on the New Comment sub-tab under the Feed tab. Type your comment into the comment field.
It is recommended that email is used to communicate with a student and comments are used to communicate with advisors. However, if you select the Public checkbox, your comments will be viewable to students as well.
- By default, new comments are set to private, which means that students will not be able to read any comment left by the advisor on the case. However, anyone else with access to the case will be able to see the comment. You can check to see if any previous comments are hidden from the student by looking for the lock icon next to the comment.
- If you would like for a comment to be seen by the student, check the Public check box. This makes the comment visible in the student’s account in MyMadison Connect. Students have the ability to “like” or respond to comments. They can also tag anyone who has communicated directly with them through Comments.
- Anyone with access to a comment has the ability to comment back on that message, which will display as a comment thread. This is one way to communicate with other stakeholders and/or the student within the case itself.
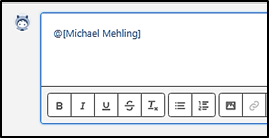
- If you would like to notify or grab the attention of an individual in a comment, type @[username], which will put a notification in that individual’s notification feed the next time they log in that you mentioned their name in a comment.
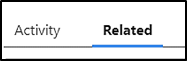
- To attach a document to a case, click the Related tab.
- Scroll to the bottom of the screen and click Upload Files and search for a file, or drag and drop a file into this field.

*If you attach a document to a case it is not viewable to the student in MyMadison Connect. If you want the student to view the document it is recommended you email the student from the case and attach the document to the email.
Emailing a student
If you need to communicate with a student regarding a case, it is recommended that you email them via the CRM. This can either be done by typing the text of the email directly into the CRM or by sending a pre-written email template. Emails will not be visible to the student in MyMadison Connect.
- To send an email, go to the Activity tab and go to the Email sub-tab. Click Compose.

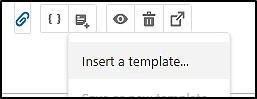
- You can manually write an email to the student or you can select a pre-written email template. To use a pre-written template, click the Insert button at the bottom of the screen.
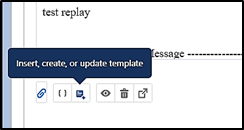
- Select Insert a template...
- Select All Lightning Templates from the dropdown list to see pre-written email templates.
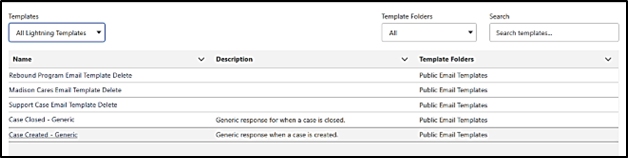
- Choose the template you wish to use, and it will be added to your email.

- Note: You can also create your own template if you frequently send the same information to students.
- To send the email, click Send.
Closing a case
After you have resolved the case, you will need to close the case.
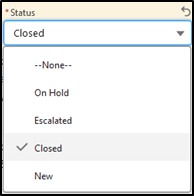
- Under the Details tab, click the pencil icon next to the current Status.
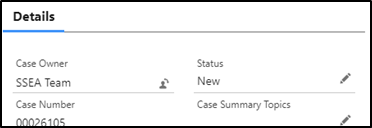
- Select Closed.
In order to close a case, you must select a Case Summary Topic, which gives a category to the particular case. Note: students will not be able to see the Case Summary Topic selected.
- Select the relevant Case Summary Topic(s). Use the arrows to move topics in/out of the chosen field.
- You may also need to update the description outlining what was done to resolve the case. This description is viewable in MyMadison Connect.
- Click Save.
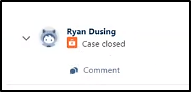
When a case is closed, the Case Activity will display the case closing as the most recent activity. The student will be able to see in MyMadison Connect that the case has been closed, and if your queue is filtered to show only open cases, you will no longer see the and the case itself will be removed from your case list.
For additional information about cases you can review our Cases eLearning.
