
Inactive students in CRM: Any student in CRM who becomes "Inactive" because of suspension, leave, or discontinuation will show as "Inactive" on their list of programs on the Account page under Student Programs (see below). Students who withdraw will show "Withdrawn" and students who graduate will show as "Completed." These student accounts remain in CRM, but after 7 days of Inactive status, the system will stop updating their data from Peoplesoft until such time as they are "Active" once again. An inactive student will also have their "Student ROle" set to inactive.
Viewing a Student Account
If you need to look up information about a particular student you can search for them via accounts. You can also search for a student account from the Global Search Bar at the top of the page. A student’s account will show any academic cases, support cases, appointments, notes, etc. that have been created by the student or any other user in the system.
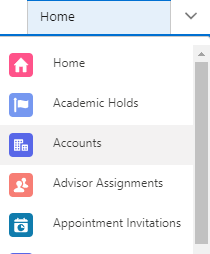
- To select a student from the list of all accounts, click Accounts from the Navigation Dropdown menu.
- The default view will be Recently Viewed, but you can change this to All Accounts.
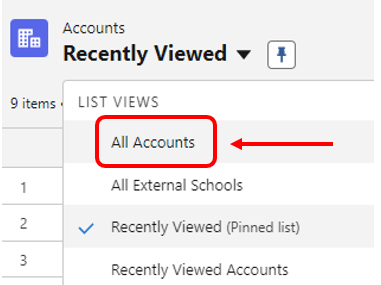
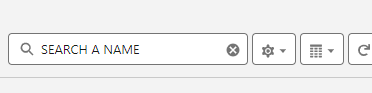
- After changing the view to All Accounts, you can use the search bar in the top-right of the screen to search for a specific student.
- After searching for a student, you can confirm their student ID number and email address at the top of the page to ensure you have the correct student.
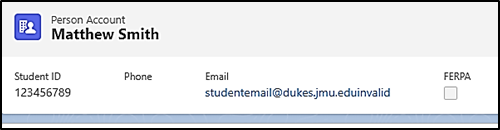
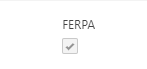
- If the FERPA Flag is checked, it means that the student has gone through the appropriate steps to protect additional information about themselves such as their directory information. All academic records of students are protected but some information is only protected if a student has requested that it be. For more information visit: https://www.jmu.edu/registrar/ferpaforstudents.shtml
On each student account page, you will see two tabs: Related and Details.
Related Tab
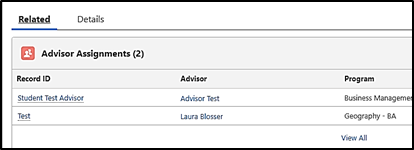
The Related tab shows all the records that are related to this student, such as Cases, Advisor Assignments, Learner Programs, Academic Holds, Academic Term Enrollments, Course Offerings, and Notes & Attachments. An advisor may wish to review a student’s account prior to meeting with them, and many of the fields in the student account are described below.
Advisor Assignments: All of the advisors assigned to a student will be listed here.
Student Programs: The student’s major and minor(s) are shown here. Clicking into this field will also show expected graduation date and program status.

Class Schedule: Displays the student’s class schedule.

Enrolled Terms: shows the terms the student is enrolled in and how many credits they are attempting and their term and cumulative GPA.

Enrollment Appointments: shows appointments dates/times for enrollment windows.

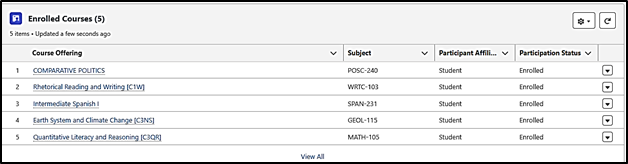
Enrolled Courses: shows all courses the student is currently enrolled in. If you select the course you can get additional information about instructor, enrollment count, waitlist count, class rosters etc.
Cases: A list of every Support Case for the student will be listed here. Note: every student is also assigned an "Academic Case," and this type of case should never be closed. Please see Case Management for additional information.

Care Plans: Care plans are not yet fully functioning in the CRM system, but once they are they will provide an advisor with a template guide that can be used with students to respond to common situations. Advisors can select common applicable paths for a student’s scenario and quickly provide the student with resources.
Notes & Attachments: uploaded attachments and notes associated with a student’s account will be listed here. Notes can be added via the New Note feature at the top of the student’s account window.

Details Tab
This tab contains all of the contact information associated with a record (phone numbers, emails, address, etc.).
Right-Hand Navigation
On the right-hand side of the page, you will see a photo of the student and alerts and timeline. If there are any active alerts related to the student, they would appear on the right-hand side. For more information on what alerts are triggered in the system please see the section on Alerts. The Timeline will show any appointments that the student has or had, any cases related to the student, and any events associated with them.
Navigating the Student Success Timeline
On a student’s account, you can filter through different types of information regarding that student’s record in the Student Success Timeline on the right side of the screen. By default, the timeline displays upcoming information first, followed by items for today, and then past items.
- To view the record details of any particular item on the Student Success Timeline, click on the title of the case, appointment, or interaction summary.
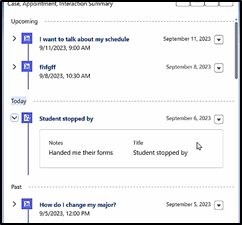
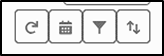
- Use one of four action/filter items on the timeline to display the types of information you desire to see on the timeline. These four options will refresh the timeline, specify a particular date range, filter to show cases, appointments, and/or interaction summaries, or sort the timeline to group cases, appointments, and interaction summaries together.
Test Scores
Test Scores (e.g. ALEKS) that have been brought into the system from SA are displayed in the Student Success Timeline as well.
Viewing Students Reports'
Advisors can view a student’s Unofficial Transcript and Academic Advisement Report (AAR) in the student’s profile.
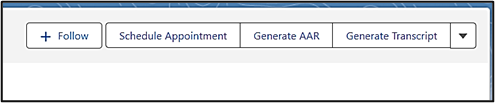
- To run an Academic Advisement Report (AAR) or an Unofficial Transcript open the Student Profile and select Generate AAR or Generate Transcript (located in the top right corner of the student account).
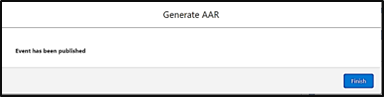
- A notification box will appear alerting you that the report has been generated. Select Finish.
- In the Student Success box, toggle to Transcripts. Expand the Academic Case to access the report(s).
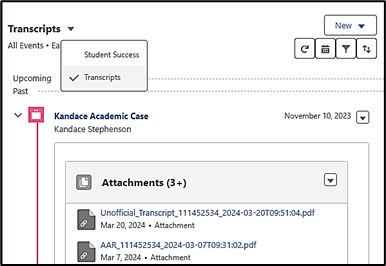
NOTE: The reports will be automatically deleted from the student's Academic Case every night so that an advisor always has the most up-to-date report when it is run.
Waivers and Directives are not captured in CRM but are available in the AAR. Use the Generate AAR button to run a fresh report when needed.
Interaction Summary
There may be instances when a student interacts with you during a time that was not previously scheduled as an appointment, but you’d still like to have a record of the interaction. A session like this would be recorded as an Interaction Summary.
- To create an Interaction Summary, navigate to the student’s account. In the Student Success timeline, click New > Interaction Summary.
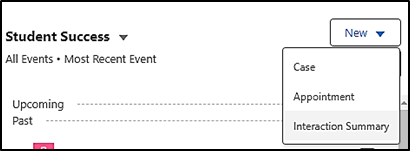
- A new Interaction Summary screen will appear. Give the interaction a title, along with any notes about the interaction you had with the student. (Example: Student got a job at UREC.)
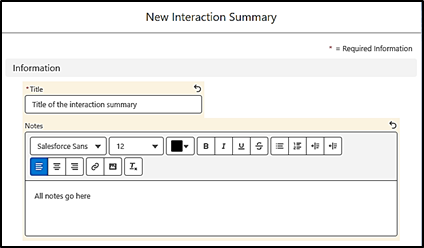
- Click Save. The interaction summary will appear on the student's success timeline but will not be visible to the student.
Feed Tab
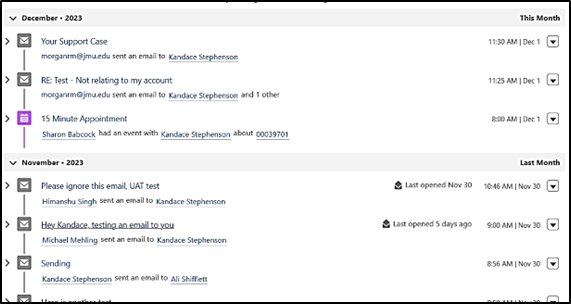
- The activity feed captures logged emails and appointments. It does not capture interaction summaries or cases.
- All appointments are recorded in the Feed tab as events, and any email that is logged from Outlook via the Salesforce add-in will be listed here as well.
- To log an email from Outlook, you must first have the Salesforce Add-in installed. Select the email and select the Salesforce add-in.

- Select the log email button. The email will now be logged in the activity feed of the student’s profile in the CRM.
