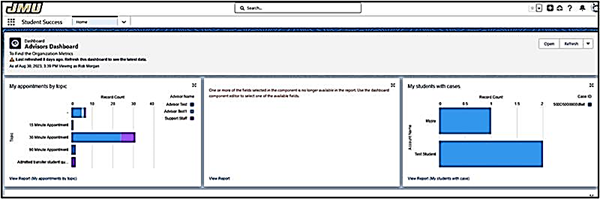
Dashboards allow you to summarize and display data in a graphical layout. Each dashboard component is based on a single source report.
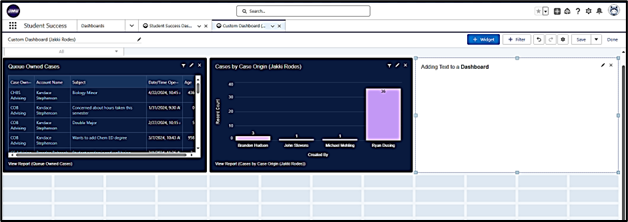
Essentially, dashboards are comprised of multiple reports presented side-by-side using dashboard widgets. Those widgets can appear as various chart types, tables, metrics, and gauges, and you can customize how data is grouped, summarized, and displayed in each widget.
Your homepage has a dashboard. You can click on any report from your dashboard, it will look like a standalone report. Dashboards can be filtered on common fields shown at the top of the dashboard.
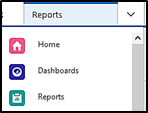
You can also create new dashboards by selecting Dashboards in the navigation drop-down menu.
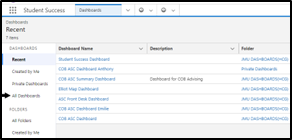
This will bring you to the Dashboards screen. You can either view dashboards created by others or create a new one. Like reports, dashboards are stored in folders. If you have access to a folder, you can view its dashboards. To view individual dashboard components, you need access to the underlying report.

View & Copy an Existing Dashboard
You can use existing dashboards to get ideas for shaping your own dashboard. You can create a copy of the dashboard to serve as a template for your own.
- To view dashboards created by others, select All Dashboards from the dashboards screen.
-
This will display all public dashboards.
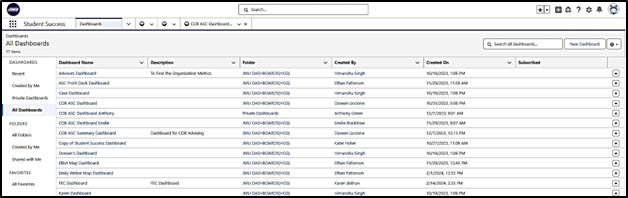
- Once you click into the dashboard, you can view the reports that the dashboard contains.

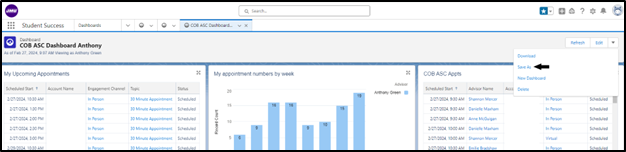
- To copy a dashboard, click the arrow beside edit and then click Save As. This will allow you to use the existing framework to create your own dashboard.
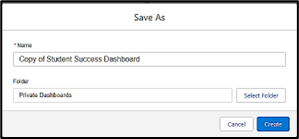
- Name your dashboard and click Select Folder.
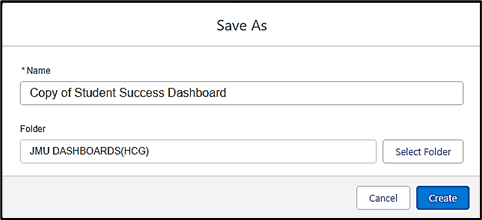
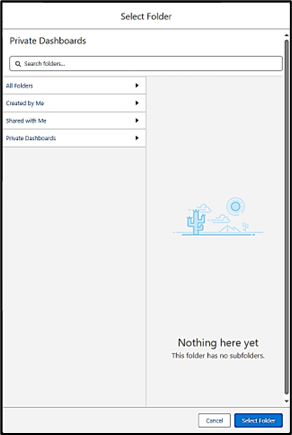
- If you want to save this in a different folder than what is displayed, click All Folders.
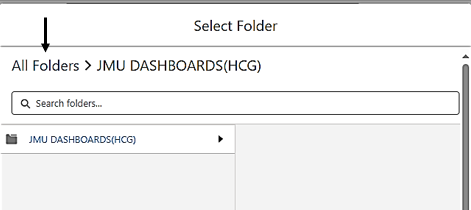
- Choose the location you wish to save the dashboard and click Select Folder.
- You’ll return to the "Save As" window. Click Create.
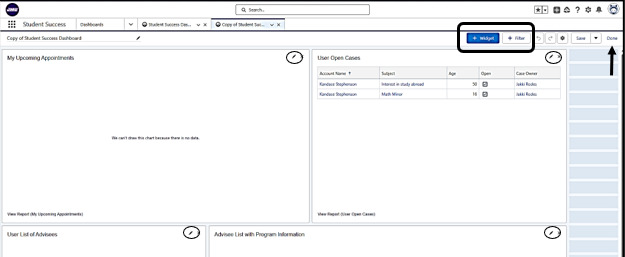
- Your dashboard will display. Click Edit to make any desired changes.

- Once you click Edit, the individual widgets can be edited by clicking the pencil icon in the top right corner of the widget. You can also add other widgets (based on other existing reports) or add filters. When finished making changes, click Done.
Dashboard Builder: Create a New Dashboard
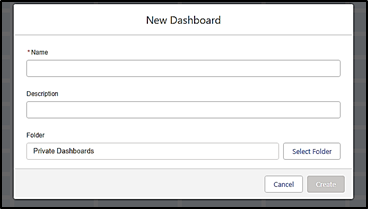
- From the main dashboard screen, click New Dashboard.

- Name your dashboard, provide a brief description, and select the folder to save it in. Note: If you want to be able to share the folder with others, be sure to pick a public or your departmental folder. Click Create.
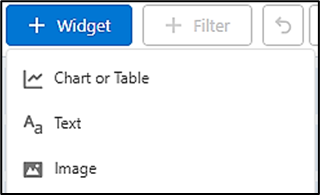
- Click +Widget to insert a widget on your dashboard. Note: you also have the option to add a filter by clicking +Filter.

- Click Chart or Table. Each widget you add can display rich text, an image, or data from one report.
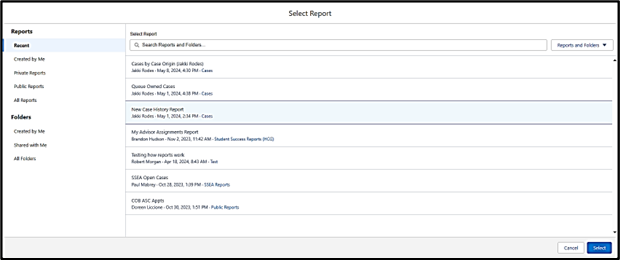
- Choose the report you want to display on your dashboard and click Select.
- Add or edit any components you wish to display. Click Add.
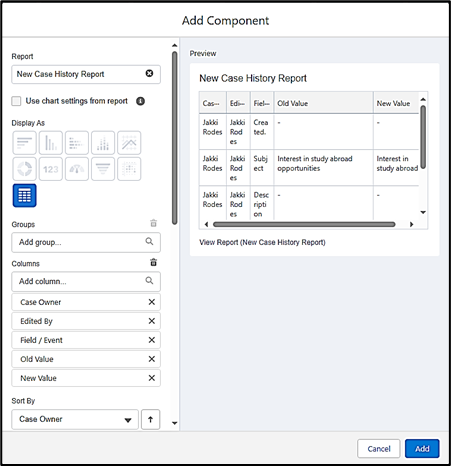
- Continue to choose whichever components you want to display using the Dashboard Builder. You can add, resize, and organize them as desired on the dashboard by simply clicking, dragging, and moving them around on the grid.
- You can also modify component properties, such as chart type, by clicking the Edit widget pencil.

- The Edit Widget window appears.
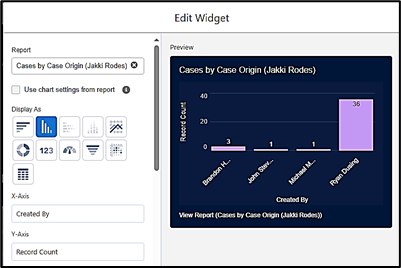
- Make any desired changes. Click Done when finished.
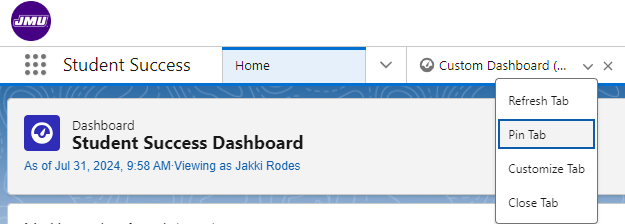
Pin a Dashboard
You can pin your dashboard to refer to quickly and easily at the top of your page. Simply open your dashboard, click the drop-down arrow next to the dashboard name, and select Pin Tab.