
Set Up Appointment Availability
Appointment Availability is the window of time you’ve set aside for appointments. Advisors will need to set their availability in the CRM system. Advisors have the ability to set a variety of meeting durations if they wish (ranging from 5-90 minutes). If an advisor has synced their Outlook calendar to the CRM, then when a student schedules an appointment, it will automatically show up on the advisor’s Outlook calendar. Both students and advisors will receive an email notification when an appointment is scheduled.
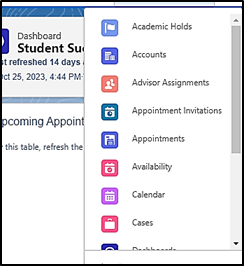
- Select Availability from the navigation drop down.
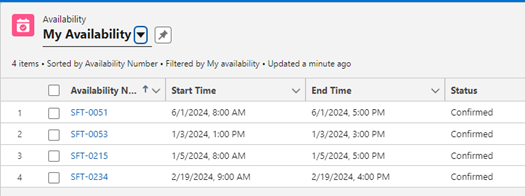
- Click the List View drop down and select My Availability.
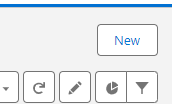
- In the top-right corner of the screen, click New. The New Availability screen will appear.
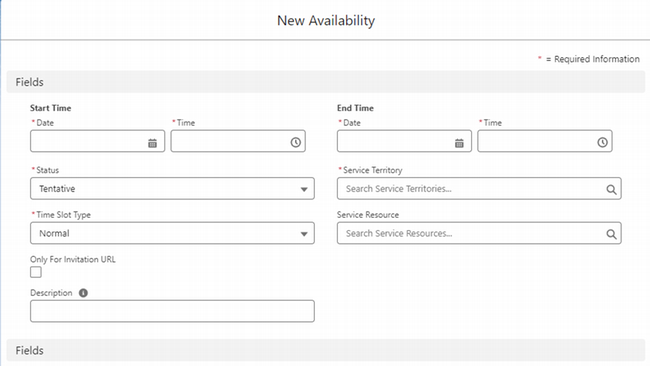
- Enter the Start Time and End Time you’d like this appointment type to be available.

- For a one-time availability, this is the day of your availability
- For a recurring availability, this is the first day of your availability. The end date needs be the same date, as you will set the actual end date of the recurrence later.
- For Status, click the dropdown menu and select Confirmed.

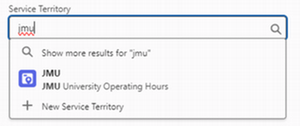
- For Service Territory, type JMU and select the option that appears.
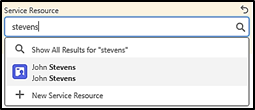
- For Service Resource, type your name and select yourself.
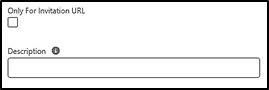
- Enter a brief Description to help you distinguish the various availability types you set up. An example description may be "M/W/F 9-11a Virtual only".
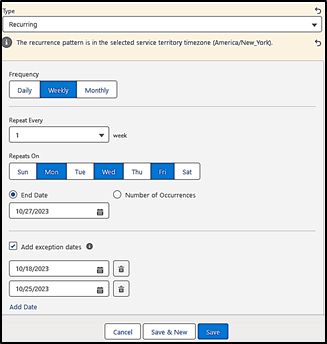
- By default, appointment availability is set as a Regular shift under the Type Field. If you wish to set up a recurring appointment type, click the dropdown and select Recurring.
- Frequency:
- Daily: you can set your availability for every day, every other day, etc. during the hours you set at the top of the New Availability window.
- Weekly: choose the days of the week when you are available during these hours.
- Monthly: repeats once per month on the day of your choice (such as the first Monday of every month).
- Select the End Date for the recurrence, usually the end of a semester.
- Add exception dates as needed. Note: if you have synced Outlook to the CRM, then the CRM will automatically prevent a student from scheduling during any time you have booked on your Outlook Calendar.
- Frequency:
If you are offering multiple appointment length options in the same window, then once one of the appointment times is taken, it will not allow another appointment to be scheduled at the same time.- Students cannot schedule appointments with you if you already have meetings scheduled on your Outlook calendar and you have synced your Outlook to the CRM.
- Meetings scheduled in the CRM will appear in your Outlook calendar.
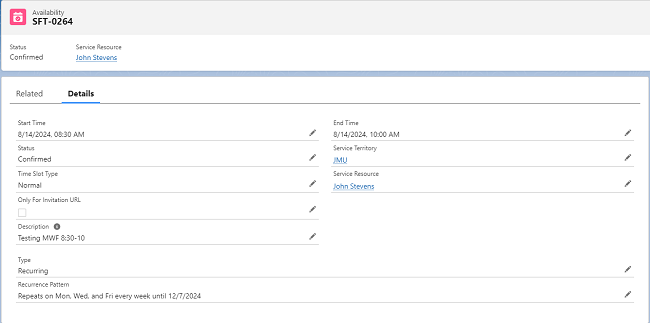
- Click Save. Your availability will appear with a specific shift number, SFT-####.
- Click the Related tab. You should see fields named Shift Work Topics and Shift Engagement Channels, among others.

- In the Shift Work Topics field, click New.

- The New Shift Work Topic screen will appear with your SFT-#### populated automatically.
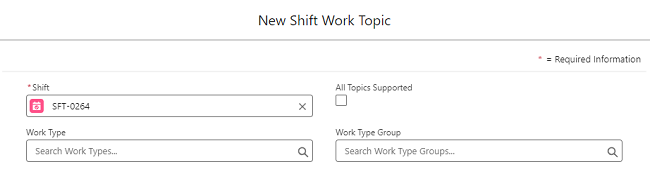
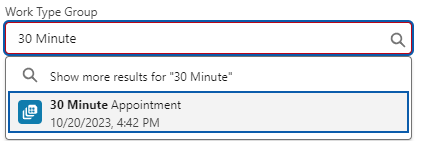
- In the Work Type Group field, type in the topic/length of appointment availability you want to offer and select it from the provided results.
- If this is the only topic/length you wish to offer for this availability, then click Save. However, if you wish to offer additional topics/lengths for this shift, then click Save and New. Insert the next topic/length into the Work Type Group field and continue doing so until you've selected all appointment topics/lengths you wish to offer for this availability.
Here is the full list of available Work Type Groups to choose from:
Available to all
- 05 Minute Appointment
- 15 Minute Appointment
- 20 Minute Appointment
- 30 Minute Appointment
- 45 Minute Appointment
- 60 Minute Appointment
- 90 Minute Appointment
For Admissions staff only
- Admissions Appointment (30 mins)
For Exploratory Advising staff only
- Exploration of Majors and Minors (30 mins)
- Newly Admitted Student Questions (30 mins)
- Quick Questions about Changing Major (30 mins)
- Returning to JMU after time away (30 mins)
- Strong Interest Inventory Assessment (60 mins)
For Madison Advising Peers only
- MAP: Biology (30 mins)
- MAP: College of Business (30 mins)
- MAP: General (30 mins)
- MAP: Honors College (30 mins)
- MAP: Kinesiology (30 mins)
- MAP: Pre-Professional Health (15 mins)
- MAP: School of Nursing (30 mins)
For Pre-Professional Health Advisors only (all are 30 mins)
- Pre-Athletic Training
- Pre-Dentistry
- Pre-Medicine
- Pre-Occupational Therapy
- Pre-Optometry
- Pre-Pharmacy
- Pre-Physical Therapy
- Pre-Physician Assistant
- Pre-Veterinary Medicine
For Transfer Credit Advisors only (all are 30 mins)
- Admitted transfer student questions
- General transfer advising questions
- Summer transfer classes
- Transfer classes during leave or suspension
- After clicking Save, you will return to the Shift Work Topic Details page, which will show all topics/lengths you chose. If satisfied, return to the Availability tab entitled SFT-####-Availability.
- In the Shift Engagement Channels field, click New.
![]()
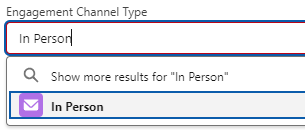
- A New Shift Engagement Channel window will appear with your SFT-#### automatically populated. In the Engagement Channel Type field, you will determine whether this availability will be In Person, Virtual, or Both.
- For in-person availability only, type In Person into the box and click the corresponding option.
- For virtual availability only, type Virtual into the box and click the corresponding option.
- For both in-person and virtual availability, do not type anything into the box. Instead, click the checkbox that says "All Engagement Channels Supported".
- Click Save.
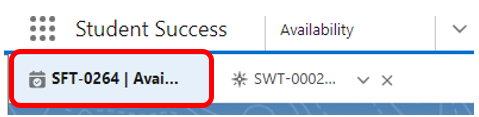
- Return once again to the Availability tab entitled SFT-####-Availability.
- Review the options you selected for Shift Work Topics and the Shift Engagement Channels for this availability. If changes need to be made, click the dropdown arrow next to the option you selected to either Edit or Delete what you chose.
- Click the Details tab and review the availability dates/times you selected. If any changes need to be made, click the pencil icon next to any field and edit the field as needed.
- Advisees are now able to schedule advising appointments with you through MyMadison Connect for this availability. To create another availability, simply repeat the above steps.
